Pages

Showing posts with label tips. Show all posts

Sunday, August 14, 2011

Cross Processing in GIMP

A quick tutorial showing how to achieve cross processing with GIMP


This effect can be used to gracefully increase the contrast of a photograph, giving the shades a blue tone and making the bright parts yellowish. Let's start!
Here's a description of the effect on Wikipedia:

"Cross processing (sometimes abbreviated to Xpro) is the procedure of deliberately processing photographic film in a chemical solution intended for a different type of film. The effect was discovered independently by many different photographers often by mistake in the days of C-22 and E-4. The process is seen most often in fashion advertising and band photography, and in more recent years has become associated with the Lo-fi photography movement"
       
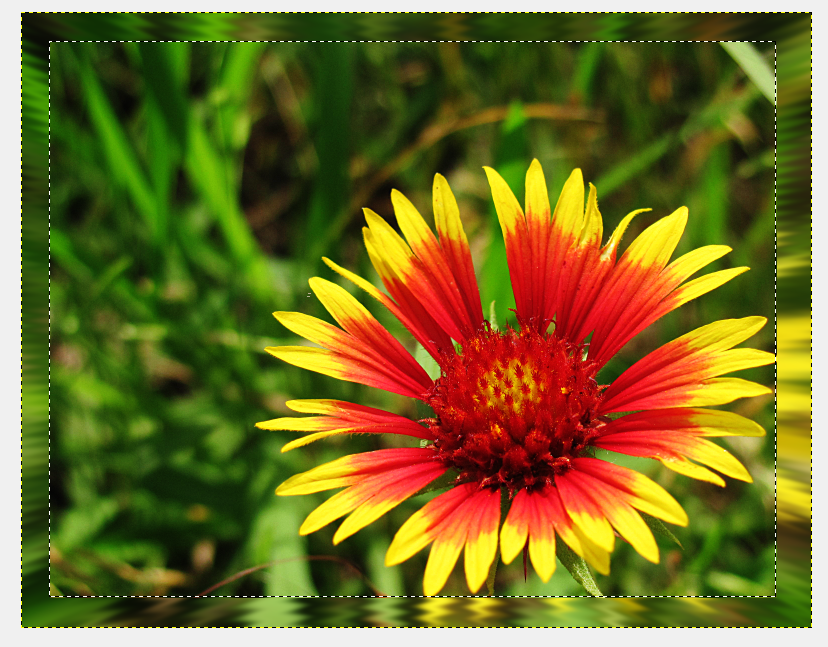
First of all, load your image in GIMP. I used a photo downloaded from http://www.sxc.hu, a free stock-images site. Credit goes to "aljabak" for the image.

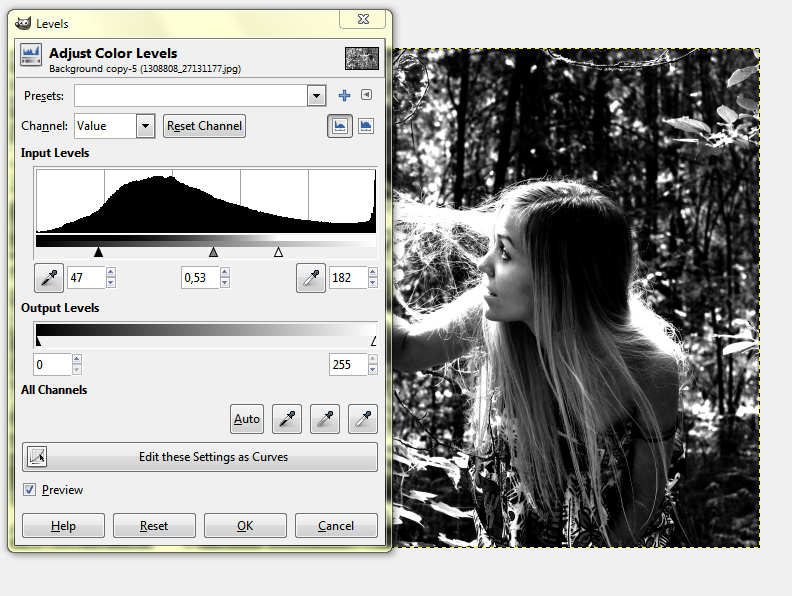
 Now go to Colors>Curves, and switch to the red channel. Make an adjustment curve like in the image( basically an 'S' curve with the top-most point moved a bit to the left.


Switch to the green channel and make an adjustment curve like in the image( we're increasing the brighter greens).

Switch to the blue channel and make an adjustment curve like in the image( this will make the shadows look blueish).

If the image requires it, you can increase the contrast, but only by a little, else it will look to harsh.

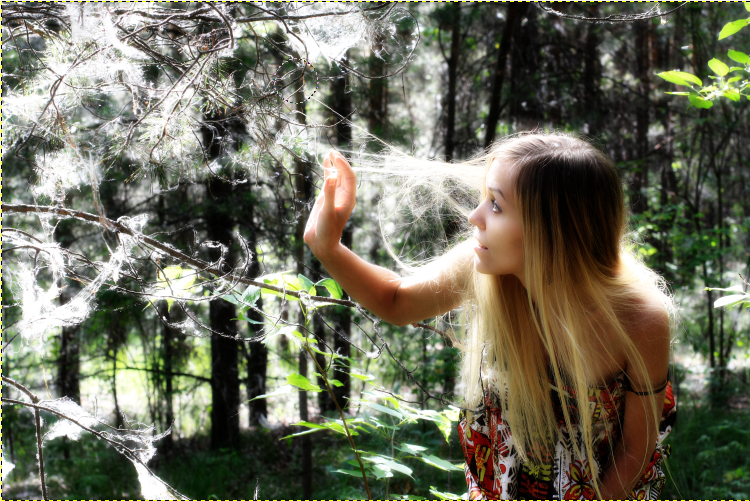
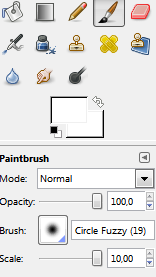
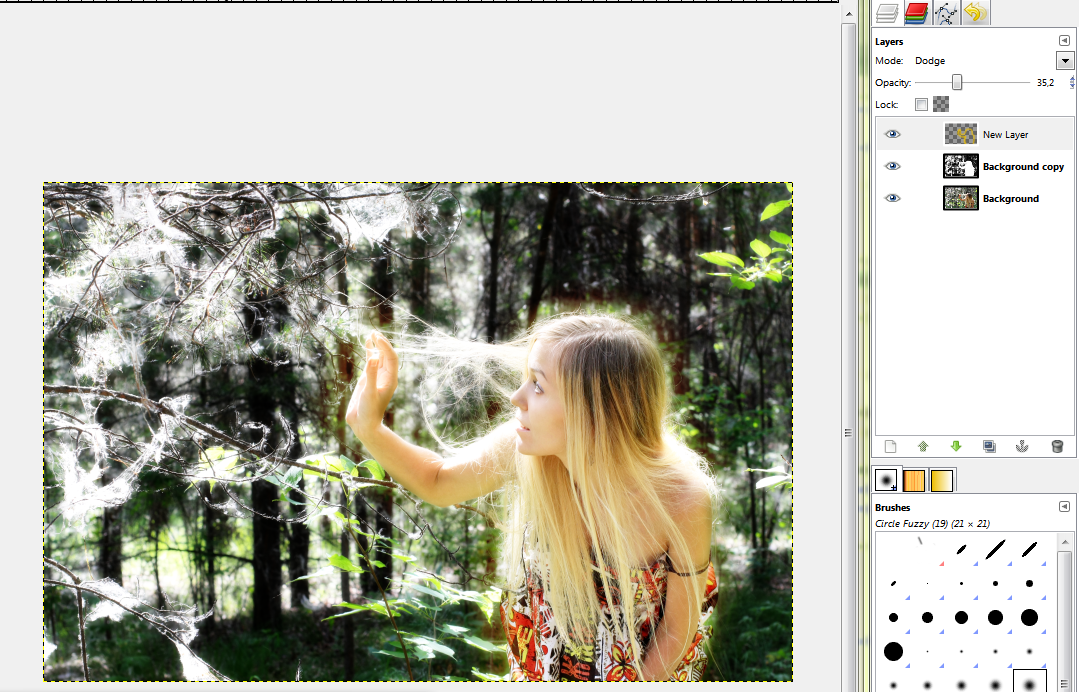
Now add a new layer and fill it with a pleasant yellow(not too bright, but not too dark either). I used R255 G204 B0.Switch the mode to overlay and reduce the opacity to somewhere in between 10% and 20%. I used 15%


The final image looks like this:

And here's 2 more examples:


I hope you enjoyed this quick tutorial! Have fun!

Saturday, August 13, 2011

Create a glassy frame with Gimp

We often store our digital photos as they are, not enhanced or modified or something. We do this with glossy-paper photos as-well, but we put most of them in albums, and in special cases, we put them in a frame. Well, nowadays it's the era of digital frames which can change the photo now and then. And they're quite cool for showcasing your work to visitors of family :)

But let's talk about making a frame on a photo, using Gimp. First of all, load your photo in Gimp. I used one that I downloaded from http://www.sxc.hu. Apply the desired enhancements.

Then duplicate the layer.


 After that apply some Gaussian Blur to it with a value of 60(that's what worked on my image).

There are more ways of creating a frame from this point, you'll just have to use your creativity. The one I'm going to show you is just a simple method, you can find other means of doing this.

Select your duplicated layer and go to Filters>Distorts>Ripple and here you can play a bit with the values to get a desired effect. For Edges, select "Smear". For the values I choosed: Period 35, Amplitutde 15 and Phase shift can be just any number, like 0. Other options should remain unmodified. Hit Ok.


 Next, go again to Filters and then Distorts>Lens Distortion. Input -50 to Main. Hit Ok.


Pick your rectangular selection tool, and make a selection that will be deleted so that the remaining part will enough for your frame( hit enter after you made it so the editing handles will disappear). Press Delete. At this point, if the deleted section becomes white, it means that your layer doesn't have an alpha channel. Undo the delete, go to Layer>Transparency>Add Alpha Channel. Then hit Delete.


Now pick the selection tool again and change the mode to "Substract" (the third button). Make a selection so that only a thin line of selection remains around the frame. Hit enter to get rid of the modifiers on the selection. Next, get your Gradient tool and select a desired gradiend from the list, leaving the shape to "Linear". Drag across the image to fill the outline of the frame. You can deselect now.


Your image is finished, and it can be saved to the desired format. Have fun experimenting with other types of filters to achieve a more interesting frame!

Monday, August 8, 2011

Make that subject shine!

Do you wonder sometimes about emphasizing a bit the atmosphere of a picture, and make the subject look a bit more "angelic"?

I'll teach you how to do that in this tutorial, using GIMP.

Choose a picture with somebody you want to modify. Take notice that this technique doesn't work well on all pictures. For the picture, I've chosen one that I downloaded from http://www.sxc.hu,
a free stock images site.

Duplicate the layer, and then desaturate it(Colors>Desaturate).

We'll have to increase a bit the contrast, so adjust the color levels to do so(Colors>Levels).
 Now apply some Gaussian Blur (Filters>Blur>Gaussian Blur). A value of 65 seemed to work fine on this particular photo.

Because the blurring decreases a bit the contrast, we'll have to amplify it a bit more again. It's not compulsory to use the Levels tool, you can adjust the contrast with Color Curves as well.

Next, set this layer mode to Overlay.

Select a white soft brush, turn the scale up to 10.....

...and then start carefully painting on the blurred layer to "reveal" our subject even more.


Make a new layer(Layer>New Layer), take your soft brush again, but this time change the color to something gold-like. 

Draw an outline on your subject.


Now apply some Gaussian Blur to this layer. Pick a high value. In my case, I picked 150.


Set this layer mode to Dodge, and reduce the Opacity to 35%.


We can now make the final adjustments to the color of this image. There are 2 ways to do this. The faster is to just Colorize the desaturated overlay layer.


But in my opinion it's more convenient to select the first layer, and change the colors using Color Curves.

This is the final image:


Have a nice day!

Sunday, July 31, 2011

Default Resolutions Chart

This is a quick chart that's very useful when you have to know the destination of your images- create different versions of the same image so it will be compatible with most of the popular resolutions.

One example of this is when making a wallpaper, but you want it to be compatible with both the squarish and widescreen aspect ratios(5:4, 16:9). And it's useful if you want to scale the things up a bit.


Found it on my computer, and don't remember where I got it. Probably on Wikipedia.

Also, for a more complete list of default resolutions, check this table on wikipedia.

I'm am going to post the most popular 16:9 resolutions here though, I think they're useful enough to be interesting to everyone.


NameWidth x HeightAspect RatioNumber of pixels
720p1280 x 72016:9921,600
WXGA, max. (standardized HDTV 720p/1080i displays)1366 x 768~16:91,049,088
900p1600 x 90016:91,440,000
HD 1080 (1080i, 1080p)1920 x 108016:92,073,600
QWXGA, 2K2048 x 115216:92,359,296
WQHD (Dell UltraSharp U2711, Apple iMac)2560 x 144016:93,686,400
QFHD3840 x 216016:98,294,400
4K4096 x 230416:99,437,184
UHDTV(speculated time frame is 2016-2020)7680 x 432016:933,177,600

Monday, July 18, 2011

Monday, April 11, 2011

How to take photos in low light

Whether you'd like to take acceptable photographs in the dark or just face some difficulties doing it, this infographic is for you:


Taken from SnapSort blog.

Sunday, April 10, 2011

Nikon P100 trick

Today I accidentally found a cool little trick after I kept my fingers on the "Preview" (or play, how do you want to call it).
For almost a year since I own this camera, I've always had to take the lens cap off and then start the camera for previewing images\videos or accessing the menu without getting the lens cap error message, because it would always start the lens mechanism.

I was surprised to discover today that I don't have to this. Just keep the "Preview" button pressed for about 2-3 seconds and the camera will  start and display the last image that was shot. You can also access the menu. But if you press the "Preview" button one more time, the camera will try to activate the lens mechanism to put it in the active position.
To shut it down, press the on\off switch.

I don't think this is written in the camera's manual, but if it is, others might have missed it just like I did.
I think this works on the P500 as well, but I'm not sure.