But let's talk about making a frame on a photo, using Gimp. First of all, load your photo in Gimp. I used one that I downloaded from http://www.sxc.hu. Apply the desired enhancements.

After that apply some Gaussian Blur to it with a value of 60(that's what worked on my image).
There are more ways of creating a frame from this point, you'll just have to use your creativity. The one I'm going to show you is just a simple method, you can find other means of doing this.
Select your duplicated layer and go to Filters>Distorts>Ripple and here you can play a bit with the values to get a desired effect. For Edges, select "Smear". For the values I choosed: Period 35, Amplitutde 15 and Phase shift can be just any number, like 0. Other options should remain unmodified. Hit Ok.

Next, go again to Filters and then Distorts>Lens Distortion. Input -50 to Main. Hit Ok.

Pick your rectangular selection tool, and make a selection that will be deleted so that the remaining part will enough for your frame( hit enter after you made it so the editing handles will disappear). Press Delete. At this point, if the deleted section becomes white, it means that your layer doesn't have an alpha channel. Undo the delete, go to Layer>Transparency>Add Alpha Channel. Then hit Delete.
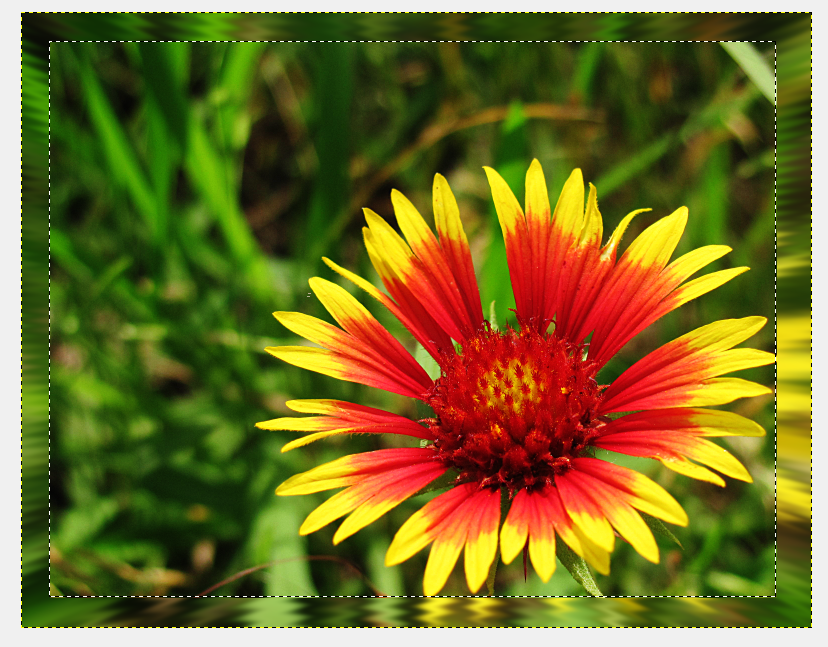
Now pick the selection tool again and change the mode to "Substract" (the third button). Make a selection so that only a thin line of selection remains around the frame. Hit enter to get rid of the modifiers on the selection. Next, get your Gradient tool and select a desired gradiend from the list, leaving the shape to "Linear". Drag across the image to fill the outline of the frame. You can deselect now.

Your image is finished, and it can be saved to the desired format. Have fun experimenting with other types of filters to achieve a more interesting frame!
No comments:
Post a Comment